Following are the provisioning instructions for Yealink:
First and foremost do a Factory Reset of your desk phone using the below procedure,
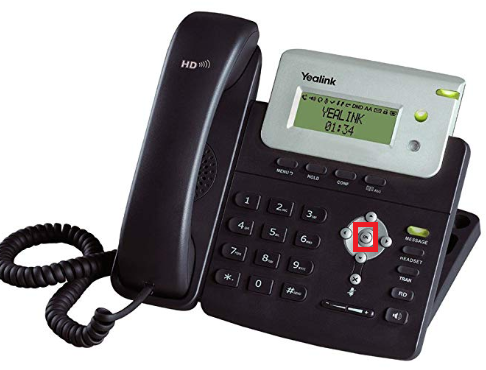
Hold down the “OK” button until the message “Reset to factory settings?” appears.
Press OK again to confirm the reset.
Get the IP address of your Yealink Phone:
- Press Menu button > Status > ip4 Eg: 192.168.0.5
- Now open the browser and paste the IP address in the URL field and click on the ‘Enter’ button to redirect to the following page.
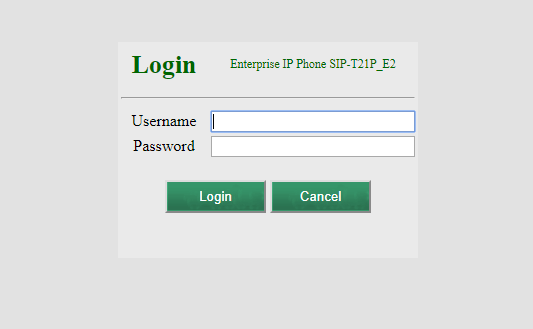
- Enter Username: admin
- Enter Password: admin
Click on the Login button and you’ll be redirected the page as depicted below
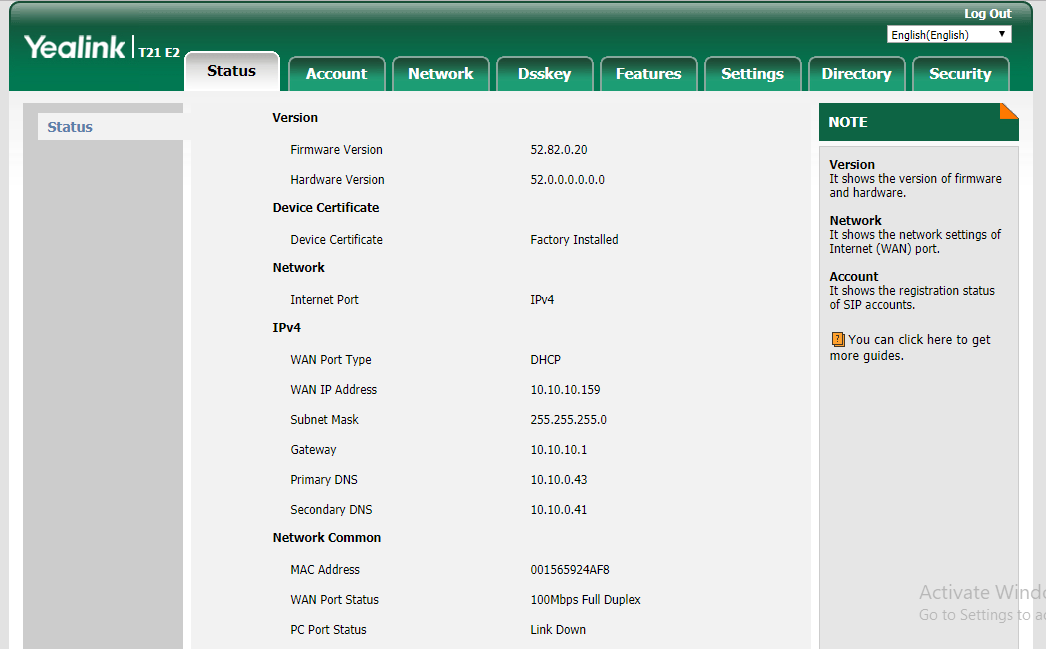
- Click on the Settings Tab and select Auto Provision.
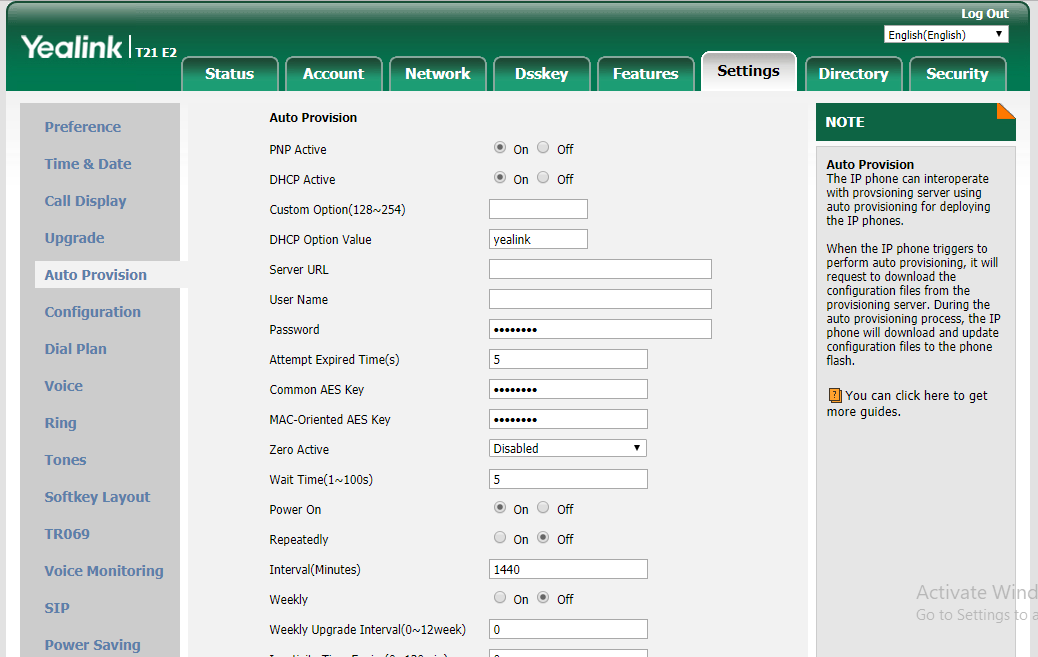
-
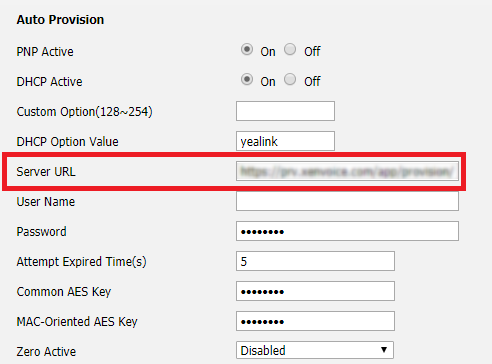
Enter the URL (in the 'Server URL' filed), which has been sent to your registered email account.
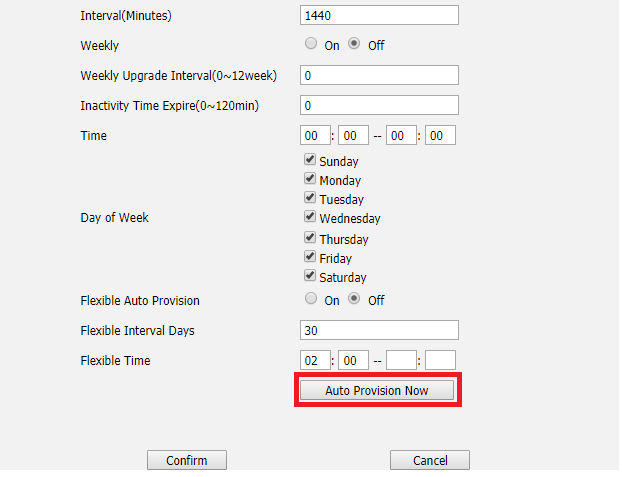
- Press Auto Provision Now button
When you click on the button, you’ll get a pop-up window on the screen as shown below:
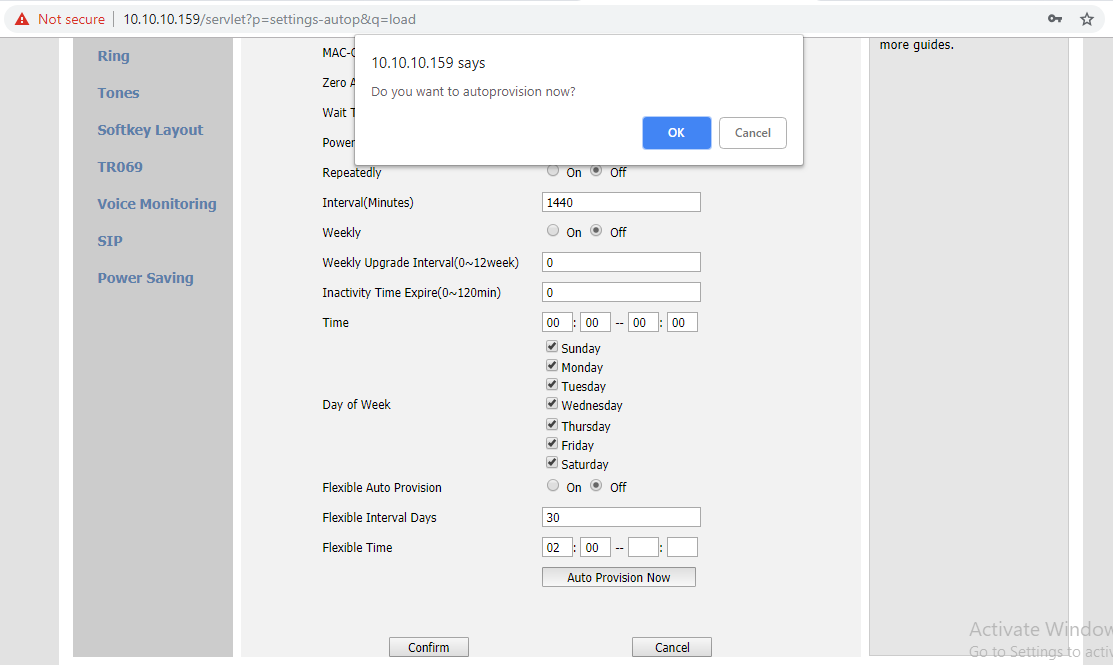
- Click on Ok button
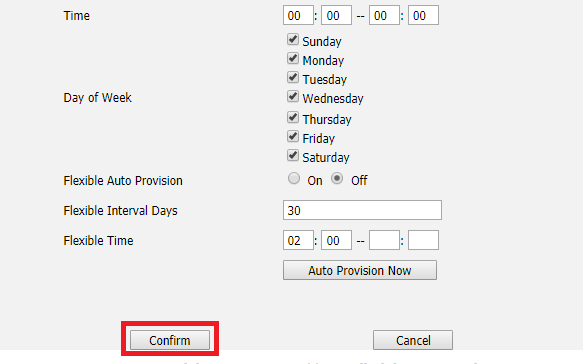
- Later click on the Confirm button too from the bottom of the page.
- Now reboot your Yealink Phone to reflect the settings. (If it not automatically rebooted)
How to Reboot Manually:
Reboot the device by choosing Settings > Upgrade > Reboot.
Note: DO NOT unplug the device while the configuration is being updated as it receives data from the server.
It approximately takes around five minutes for the phone to configure the new provisioning settings.
If you have any queries please feel free to contact us at customercare@banter.io
Comments