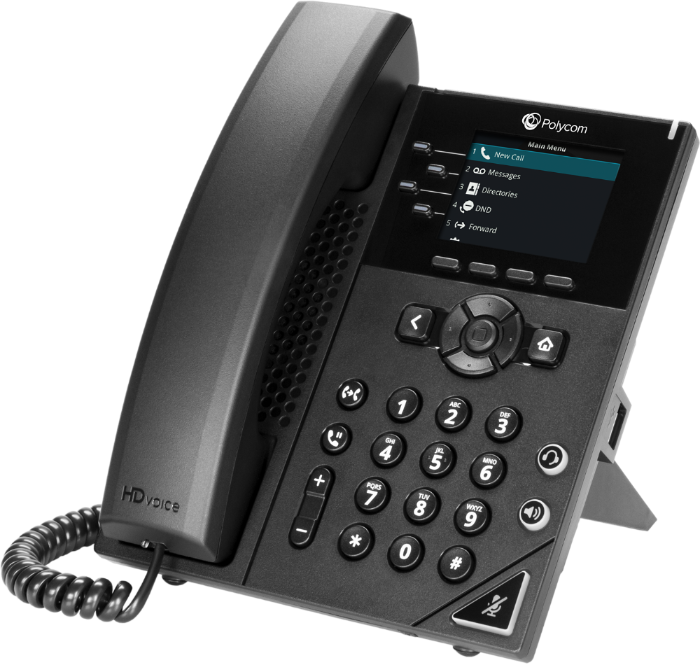
Following are the provisioning instructions for Polycom VVX 250.
Note: Update the UC Software version to the latest available.

First and foremost do a Factory Reset of the phone using the below procedure:
- Use the Up and Down arrow keys to scroll through the options
- Press Home > Settings > Advanced > 456 (Password) and select Enter > Admin Settings > Reset to Defaults > Reset to Factory >Are you sure> Yes
- Then the phone will be automatically rebooted and settings made to default.
Then, follow the below steps:
- Find out IP address of the IP phone: Press Home > Settings > Status > Network > TCP/IP parameters > IP Eg: https://10.10.10.170
- Open the web browser and paste the IP address into the URL to open the device configuration page
-
-
If the page doesn't open follow the below steps on the phone, to enable the Web server.
-
Enable the webserver configuration in the phone Admin Settings.
- Press the Menu/Home Key.
- Select Settings.
- Select Advanced.
- Enter phone Admin Password.
- Select Administration Settings.
- Select Web Server Configuration.
- Set Web Server to Enabled.
- Select Back then Save Config.
- After enabling web server configuration, refresh the browser.
-
-
- Log in using the default credentials – Username: admin & Password: 456
- Go to Settings > Provisioning Server
Here, perform the following procedure
- Select the HTTPS option from the Server Type
- Enter the URL, which has been sent to your registered email account.
-
Go to DHCP Menu and Set the Boot Server to static.
- Then click on the Save button and click on yes.
- It will automatically reboot the device.
Note:
- Reboot manually, if the phone is not automatically rebooted after clicking on the Save
How to Reboot Manually:
Reboot the phone by choosing Utilities > Reboot > yes > ok.
Note: Do not unplug the device while the configuration is being updated as it receives data from the server.
It approximately takes around five minutes for the phone to configure the new provisioning settings.
Comments